Shine Time Car Wash
Related Articles
A clean and well-maintained vehicle not only enhances its aesthetic appeal but also extends its overall lifespan. When it comes to car detailing, one of the most overlooked areas is wheel cleaning. Neglecting proper wheel care can lead to a buildup of dirt, grime, and brake dust, which not only diminishes the appearance of the wheels but also poses potential risks for corrosion and damage. For instance, imagine a scenario where an individual consistently neglects their wheel maintenance routine. Over time, the accumulation of brake dust and road debris could result in irreversible damage such as pitting or staining on the wheels’ surface.
To ensure that your vehicle’s wheels remain in pristine condition, this comprehensive guide aims to provide valuable insights into effective wheel cleaning techniques for car wash enthusiasts. By following these recommendations, you will be able to achieve spotless rims while minimizing any potential harm caused by improper washing methods or harsh chemicals. This article will delve into various aspects of wheel cleaning including preparation steps, suitable tools and products, recommended cleaning procedures based on different types of wheels (e.g., alloy or chrome), and essential tips for maintaining long-lasting cleanliness. With this ultimate guide at your disposal, you can confidently embark upon your journey towards achieving immaculate wheels that complement the overall appearance of your vehicle.
To begin, it is essential to gather the necessary tools and products for effective wheel cleaning. Here are some items you will need:
-
Wheel brush: A dedicated wheel brush with soft bristles is ideal for reaching into tight spaces and removing stubborn dirt or brake dust.
-
Microfiber towels: These are gentle on the wheels and perfect for drying or applying cleaning products.
-
Wheel cleaner: Look for a non-acidic, pH-neutral wheel cleaner that is safe to use on all types of wheels. Avoid harsh cleaners that can damage the finish.
-
Wheel cleaner applicator: This can be a foam applicator pad or brush specifically designed for applying wheel cleaner evenly.
Now, let’s move on to the step-by-step process of cleaning your wheels:
-
Preparation: Start by rinsing your wheels thoroughly with water to remove loose dirt and debris. It is advisable to clean one wheel at a time to ensure thoroughness without allowing any cleaning agents to dry out prematurely.
-
Application of wheel cleaner: Spray the wheel cleaner onto the surface of the wheel, making sure to cover all areas including spokes, crevices, and the inner barrel if accessible.
-
Agitation: Use the wheel brush mentioned earlier to gently scrub the surface of the wheel, paying close attention to heavily soiled areas and brake dust accumulation near the brakes. Be cautious not to apply excessive pressure or use abrasive materials that may scratch or damage the finish.
-
Rinse off: Once you have thoroughly cleaned each wheel with the brush, rinse off all residue using a strong stream of water from a hose or pressure washer. Ensure that no traces of cleaner are left behind before moving on to drying.
-
Drying: Use clean microfiber towels to dry each wheel individually, ensuring there are no streaks or water spots left behind.
It’s important to note that different types of wheels may require specific cleaning procedures. For example:
-
Alloy wheels: Avoid using harsh brushes or abrasive materials that can scratch the surface. Stick to non-acidic wheel cleaners and gentle brushes or soft cloths for best results.
-
Chrome wheels: Chrome wheels are susceptible to damage, so it’s crucial to use a pH-neutral cleaner specifically designed for chrome surfaces. Additionally, avoid using stiff brushes or abrasive materials that could scratch the delicate chrome finish.
Finally, here are some essential tips for maintaining long-lasting cleanliness:
-
Regular maintenance: Establish a routine for wheel cleaning and make it a part of your regular car wash regimen. Consistent maintenance will prevent dirt and brake dust from accumulating over time.
-
Protective coatings: Consider applying a protective coating or sealant specifically made for wheels. These products create a barrier between the wheel surface and contaminants, making future cleaning easier and more effective.
-
Avoid harsh chemicals: Stay away from acidic wheel cleaners or any products containing bleach or other corrosive substances as they can cause irreversible damage to your wheels’ finish.
By following these guidelines, you will be well-equipped to achieve spotless wheels that enhance the overall appearance of your vehicle while protecting them from potential harm caused by neglect or improper cleaning methods.
Drying methods after washing
Imagine this scenario: you have just finished giving your car a thorough wash, and now it’s time to dry it off. The drying process is often overlooked but plays a crucial role in maintaining the appearance of your vehicle. In this section, we will explore various drying methods that can help achieve optimal results.
One effective method for drying your car is by using a microfiber towel. These towels are designed to absorb moisture quickly while minimizing the risk of scratching or damaging the paintwork. Start by gently patting down the surface of the car with the microfiber towel, working from top to bottom. This approach not only ensures efficient water absorption but also prevents any dirt or debris from being pushed back onto the surface.
Another option worth considering is an electric blower or leaf blower. By directing high-velocity air onto the wet areas, these blowers can effectively remove excess water without requiring direct contact with your car’s paintwork. However, it is important to maintain a safe distance between the blower nozzle and the vehicle to prevent potential damage.
To further enhance your car-washing experience, here are four key tips to keep in mind:
- Use multiple towels: Having more than one microfiber towel on hand allows you to switch them out as they become saturated, ensuring maximum efficiency.
- Pay attention to crevices: Don’t forget about hard-to-reach places like door handles, side mirrors, and emblems; use compressed air or detail brushes specifically designed for such areas.
- Opt for natural materials: Avoid using synthetic chamois or cotton towels as they tend to leave lint behind; instead, choose natural fiber options like wool or lambskin mitts.
- Invest in a quality squeegee: A rubber-bladed squeegee can be particularly useful when removing excess water from large flat surfaces like windows and windshields.
Table 1 below provides a summary comparison of the pros and cons of each drying method discussed:
| Drying Method | Pros | Cons |
|---|---|---|
| Microfiber Towel | – Gentle on paintwork- Good water absorption | – May require multiple towels- Risk of pushing dirt onto surface |
| Electric Blower | – Quick and efficient – No direct contact with paintwork | – Potential risk of damage if used improperly |
In conclusion, selecting an appropriate drying method is crucial to avoid leaving behind unsightly water spots or potential damage. Whether you opt for a microfiber towel or an electric blower, be sure to follow proper techniques and take the necessary precautions to maintain your car’s appearance.
[Table 1: Comparison of drying methods]Using non-toxic cleaning solutions
Imagine this scenario: You’ve just finished washing your car and are eager to see it sparkling in the sunlight. However, if you neglect to properly dry your wheels after washing, all your hard work may go to waste. In this section, we will explore the importance of using appropriate drying methods for wheel maintenance.
To illustrate the significance of proper drying techniques, let’s consider a hypothetical situation. Imagine that two car owners wash their vehicles on the same day using identical cleaning solutions and techniques. The first owner allows their wheels to air-dry without any further intervention, while the second owner takes extra care to ensure thorough drying. Several weeks later, upon inspection, it becomes evident that the first owner’s wheels show signs of water spots and corrosion, whereas the second owner’s wheels remain pristine with a brilliant shine.
Using non-abrasive methods is crucial when drying your wheels as harsh materials can potentially cause scratches or damage delicate surfaces. Here are some recommended practices:
- Use microfiber towels: These towels are highly absorbent and designed specifically for automotive use.
- Pat instead of rubbing: Instead of vigorously rubbing your wheels dry, gently pat them with the towel to remove excess moisture.
- Reach into crevices: Ensure that all areas, including tight spaces between spokes and lug nuts, are thoroughly dried.
- Allow ample time for drying: Give yourself enough time during each car wash session so that you’re not rushing through the drying process.
By following these tips, you can effectively minimize potential damage caused by improper drying methods and maintain the overall appearance and longevity of your vehicle’s wheels.
Now that we have explored proper drying methods after washing our car’s wheels, let us delve into another important aspect – utilizing non-toxic cleaning solutions for optimal results. But before we do so, let’s discuss some useful tips to prevent rust buildup on our beloved wheels.
Tips to prevent rust buildup
Transitioning from the previous section on using non-toxic cleaning solutions, it is essential to take preventive measures against rust buildup in order to prolong the life of your car’s wheels. Let’s delve into some effective tips that can help you keep those wheels looking as good as new.
One example of how rust buildup can occur is when moisture and road salt accumulate on the surface of the wheel. This creates a perfect breeding ground for rust, which not only affects the appearance but also compromises the structural integrity of the wheel itself. To prevent this, here are some important guidelines:
- Regularly clean your wheels using a mild soap or specific wheel cleaner recommended by your vehicle manufacturer.
- Apply a protective coating like wax or sealant after cleaning to create a barrier between the wheel surface and external elements.
- Ensure proper drying after washing, paying extra attention to hard-to-reach areas where water might be trapped.
- Consider investing in wheel covers or mud flaps to minimize exposure to corrosive substances such as road salts and chemicals.
To illustrate these points further, let us consider an imaginary scenario where two car owners live in different regions with varying weather conditions. Car Owner A lives in a coastal area where high humidity levels and salty sea air contribute significantly to rust formation. On the other hand, Car Owner B resides in an inland region prone to extreme temperature fluctuations and frequent use of deicing agents during winter months.
| Coastal Area (Car Owner A) | Inland Region (Car Owner B) | |
|---|---|---|
| Cleaning | Regular cleaning with mild soap followed by protective coating application. | Frequent cleaning required due to extensive use of deicing agents; focus on removing any accumulated snow or ice promptly. |
| Protective Measures | Additional layer of wax applied every few months; usage of wheel covers highly recommended. | Consistent application of sealants throughout all seasons; usage of mud flaps during winter months is advised. |
| Inspection | Monthly inspection to identify any signs of rust or corrosion and address them promptly. | Regular inspection every two weeks, as extreme temperature fluctuations can accelerate the rusting process. |
| Maintenance | Periodic wheel alignment checks due to high humidity levels causing potential misalignment issues. | Frequent tire rotations needed to distribute weight evenly and prevent uneven wear caused by fluctuating temperatures. |
By following these preventive measures, both Car Owner A and B can significantly reduce the risk of rust buildup on their wheels and maintain a visually appealing appearance.
Transitioning into the subsequent section about maintaining optimal tire pressure, it is crucial to understand how proper inflation contributes not only to the longevity of your tires but also influences overall vehicle performance.
Maintaining optimal tire pressure
Transitioning from the previous section on preventing rust buildup, it is crucial to also pay attention to another essential aspect of wheel maintenance – maintaining optimal tire pressure. Proper tire pressure not only ensures a smoother and safer ride but also contributes to extending the life of your tires. Let’s explore some key points to consider when it comes to maintaining proper tire pressure.
Imagine this scenario: You are driving down the highway with underinflated tires. As you navigate a sharp turn, you notice that your vehicle feels sluggish and less responsive than usual. This decrease in performance can be attributed to low tire pressure, which leads to increased rolling resistance, decreased fuel efficiency, and reduced handling capabilities.
To avoid such situations, here are a few tips for maintaining optimal tire pressure:
- Regularly check your tire pressure using a reliable gauge.
- Inflate or deflate as necessary based on manufacturer recommendations.
- Keep an eye on temperature changes that may affect tire pressure.
- Ensure all four tires have similar inflation levels for balanced performance.
Now let’s take a moment to delve into why maintaining appropriate tire pressure is so vital by examining its impact across various areas:
| Area | Impact |
|---|---|
| Safety | Underinflation increases braking distance and reduces traction, while overinflation decreases stability. |
| Fuel Efficiency | Low tire pressure causes higher fuel consumption due to increased rolling resistance. |
| Tire Lifespan | Improper inflation accelerates tread wear and may result in uneven wear patterns. |
| Handling & Performance | Incorrect tire pressures negatively affect steering response and overall vehicle dynamics. |
By diligently monitoring and adjusting your tire pressure according to these guidelines, you can ensure better safety, improved fuel efficiency, extended tire lifespan, and enhanced handling performance for your vehicle.
Transitioning smoothly into the next section about “Cleaning neglected wheel wells,” now let’s shift our focus to another crucial aspect of wheel maintenance.
Cleaning neglected wheel wells
To truly achieve a thorough wheel cleaning for your car wash, it is crucial not to overlook the often-neglected area of the wheel wells. Neglected wheel wells can accumulate dirt, debris, and even salt residue from winter roads, which can lead to corrosion and diminish the overall appearance of your vehicle.
Imagine you are driving down a muddy road after heavy rain. As mud splatters onto your wheels, some of it inevitably finds its way into the wheel wells. Over time, this accumulation dries up and hardens, making it challenging to remove without proper attention. Let’s explore how you can effectively clean neglected wheel wells:
Firstly, gather all necessary supplies before starting the cleaning process:
- A high-pressure hose or pressure washer
- Wheel cleaner specifically formulated for removing grime and buildup
- Soft-bristle brush or old toothbrush
- Microfiber cloth or sponge
Next, follow these steps to thoroughly clean your neglected wheel wells:
- Start by rinsing off any loose dirt or debris using a high-pressure hose or pressure washer.
- Apply the specialized wheel cleaner generously to each wheel well, ensuring full coverage.
- Allow the cleaner to sit for a few minutes so that it can penetrate and loosen stubborn grime.
- Using a soft-bristle brush or an old toothbrush, gently scrub away the remaining dirt and buildup in circular motions.
- Rinse off the cleaned areas with water until no traces of cleaner remain.
- Dry the wheel wells using a microfiber cloth or sponge to prevent water spots.
By regularly incorporating this simple yet effective method into your car washing routine, you will ensure that your vehicle remains in pristine condition while preventing potential damage caused by neglecting this commonly overlooked area.
Transitioning seamlessly into our next section on “Removing stubborn brake dust,” let us now delve further into tackling another aspect of achieving impeccable wheel cleanliness.
Removing stubborn brake dust
Cleaning Neglected Wheel Wells
Imagine you’ve just purchased a used car and upon closer inspection, you notice that the wheel wells are caked with dirt and grime. Neglected wheel wells not only detract from the overall appearance of your vehicle but can also lead to corrosion and other issues if left unattended. To restore them to their original condition, follow these steps:
- Preparing for Cleaning:
- Park your car on a level surface and engage the parking brake.
- Gather the necessary supplies: a hose with adjustable nozzle, a stiff brush or old toothbrush, all-purpose cleaner, degreaser, and microfiber towels.
- Put on gloves to protect your hands from any harsh chemicals.
-
Removing Surface Dirt:
Start by rinsing the wheel well thoroughly with water using an adjustable nozzle on your hose. This will help loosen any loose debris clinging to the surface. Once done, spray an all-purpose cleaner onto the entire area and allow it to sit for a few minutes. Use a stiff brush or old toothbrush to scrub away any remaining dirt, paying close attention to hard-to-reach areas like crevices and around suspension components. -
Degreasing:
To remove stubborn grease and oil build-up in neglected wheel wells, apply a degreaser directly onto the affected surfaces. Allow it to penetrate for several minutes before agitating with a brush again. Be sure to cover every nook and cranny thoroughly. -
Rinse and Dry:
After scrubbing away all traces of dirt and greasy residue, rinse off the wheel well completely with clean water until no suds remain. Take care not to let excessive amounts of water enter sensitive electrical components or brake systems during this step.
Now that your neglected wheel wells have been restored back to their former glory let’s move on to tackling another common issue – removing stubborn brake dust.
Air drying for a streak-free finish
Removing stubborn brake dust can be a challenging task, but with the right techniques and products, you can achieve excellent results. One common issue faced by car owners is brake dust buildup on their wheels, which not only affects the overall appearance of the vehicle but also poses potential risks to its performance. To effectively tackle this problem, it is important to follow a systematic approach that combines mechanical agitation and appropriate cleaning agents.
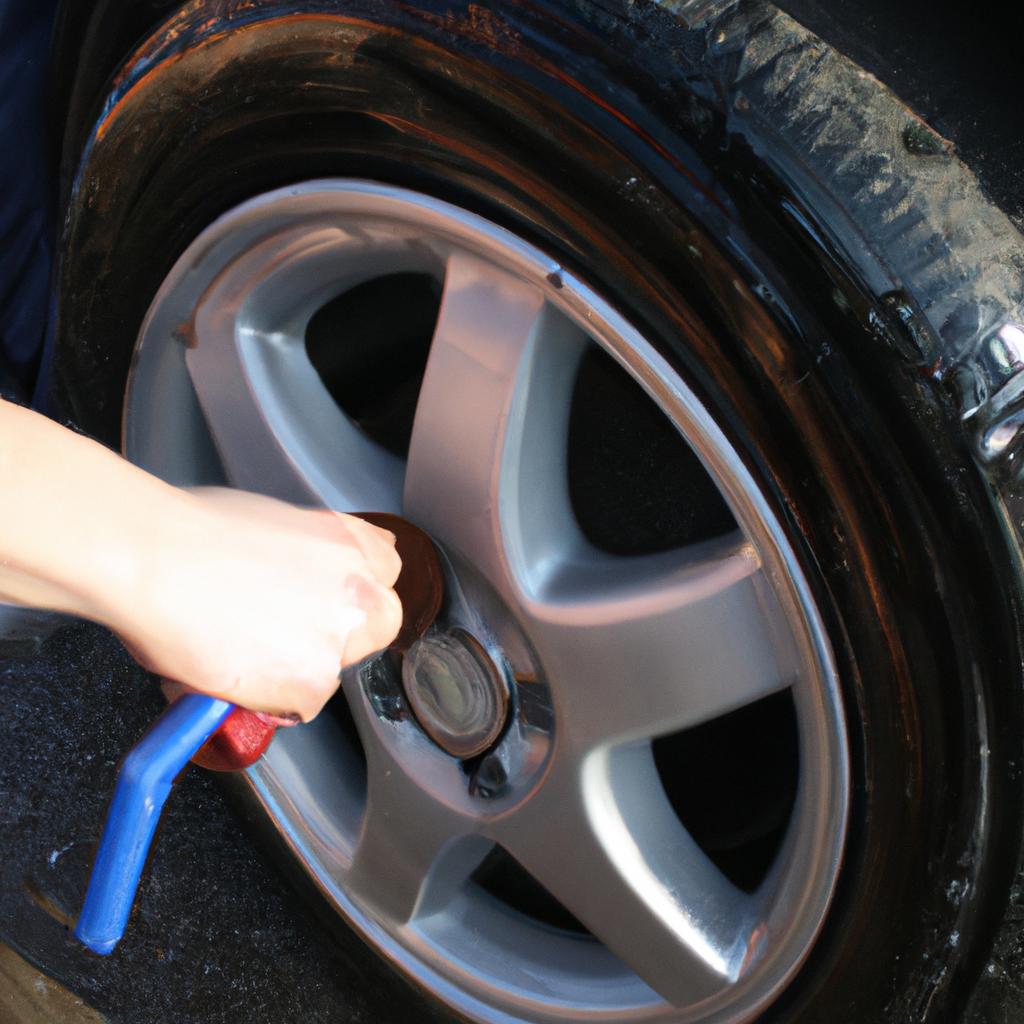
To begin, start by inspecting the wheels for any loose dirt or debris. Use a soft-bristled brush or wheel cleaner tool to gently remove these particles before proceeding further. This initial step helps prevent scratching or damaging the surface during the cleaning process.
Next, apply a specialized wheel cleaner specifically designed to break down brake dust deposits. Ensure that the product is suitable for your particular type of wheels (e.g., alloy, chrome, painted) by referring to the manufacturer’s recommendations. Apply the cleaner evenly across each wheel using an applicator pad or spray bottle.
Now it’s time for some mechanical agitation! Take a wheel brush with stiff bristles and scrub in a back-and-forth motion, focusing on heavily soiled areas such as around lug nuts and behind spokes. The goal here is to dislodge and loosen any remaining brake dust particles. For added effectiveness, consider investing in a brush with flexible heads or built-in contoured shapes that can reach hard-to-access areas without causing damage.
Once you’ve thoroughly cleaned all four wheels, rinse off any residue using clean water from a hose or pressure washer at medium pressure. Make sure to remove all traces of the cleaning agent before moving on to Air drying.
Here are some key takeaways:
- Regularly removing brake dust prevents long-term damage and maintains your wheels’ aesthetics.
- Always use compatible wheel cleaners recommended by manufacturers.
- Mechanical agitation using brushes aids in deep-cleaning.
- Rinse thoroughly after cleaning to avoid leaving any residue behind.
By following these steps, you can effectively remove stubborn brake dust and restore your wheels’ shine.
Eco-friendly cleaning product options
From air drying for a streak-free finish, let’s now shift our focus to eco-friendly cleaning product options. Imagine this scenario: you’re at the car wash, wanting to clean your wheels thoroughly while also minimizing your impact on the environment. What choices do you have? Let’s explore some environmentally friendly alternatives that can help you achieve both goals.
First and foremost, consider using biodegradable wheel cleaners. These products are designed to break down naturally over time without harming the environment. They often contain plant-based ingredients or enzymes that effectively remove dirt and grime from your wheels without leaving behind any harmful residue.
Another option is waterless wheel cleaners. By eliminating the need for excessive water usage during the cleaning process, these products not only save precious resources but also reduce runoff pollution. Simply spray the cleaner onto your wheels, allow it to penetrate and loosen dirt, and then wipe away with a microfiber cloth for a spotless shine.
If you prefer a DIY approach, there are several homemade wheel cleaning solutions you can try. Here’s a handy bullet point list of four simple recipes:
- Baking soda paste: Mix baking soda with water until it forms a thick paste. Apply it to your wheels using a brush or sponge, scrub gently, and rinse off.
- Vinegar solution: Combine equal parts white vinegar and water in a spray bottle. Spray it onto your wheels, let it sit for a few minutes, then scrub and rinse.
- Lemon juice mixture: Squeeze fresh lemon juice into a bowl and add an equal amount of warm water. Use this solution to wipe down your wheels with a cloth or sponge.
- Olive oil polish: Dab some olive oil onto a cloth and rub it onto each wheel surface for added shine and protection against corrosion.
Now that we’ve explored eco-friendly cleaning product options together, let’s move on to discussing how you can protect your newly cleaned wheels with a wax coating.
[Transition sentence: Now that we’ve looked at eco-friendly cleaning product options, let’s delve into the importance of protecting your wheels with a wax coating.]Protecting wheels with a wax coating
Imagine this scenario: you’ve just spent hours meticulously cleaning your car’s wheels, but within days they’re covered in dirt and grime again. This can be frustrating and time-consuming. However, there is a solution to help keep your wheels cleaner for longer – applying a wax coating. By protecting your wheels with a layer of wax, you can not only enhance their appearance but also make them easier to clean and maintain.
One effective way to protect your wheels is by using a wheel-specific wax product. These waxes are specially formulated to withstand the harsh conditions that wheels often face, such as exposure to brake dust, road salt, and UV rays. They create a barrier between the wheel surface and contaminants, making it harder for dirt and grime to adhere.
To ensure proper application of the wax coating on your wheels, follow these steps:
-
Clean the wheels thoroughly: Before applying any wax, make sure your wheels are clean and free from debris. Use an appropriate wheel cleaner or mild soap along with a brush or sponge to remove any built-up dirt or brake dust.
-
Apply the wax evenly: Using a soft cloth or applicator pad, apply the wheel wax in small circular motions onto the entire wheel surface. Make sure to cover all areas including spokes, rims, and even behind the wheel.
-
Allow drying time: Let the applied wax sit on the wheels for the recommended time specified by the manufacturer. This will allow it to bond properly with the wheel surface and provide optimal protection.
-
Buff off excess residue: Once the drying time has elapsed, use a clean microfiber cloth to gently buff away any leftover residue until you achieve a smooth finish.
By following these steps and consistently maintaining your coated wheels, you can enjoy long-lasting protection against dirt accumulation while keeping them looking sleek and shiny.
As important as it is to clean and protect your wheels, it is equally crucial to regularly inspect your tires for signs of wear. This will help ensure optimal performance and safety while driving.
Now let’s move onto inspecting tires for signs of wear.
Inspecting tires for signs of wear
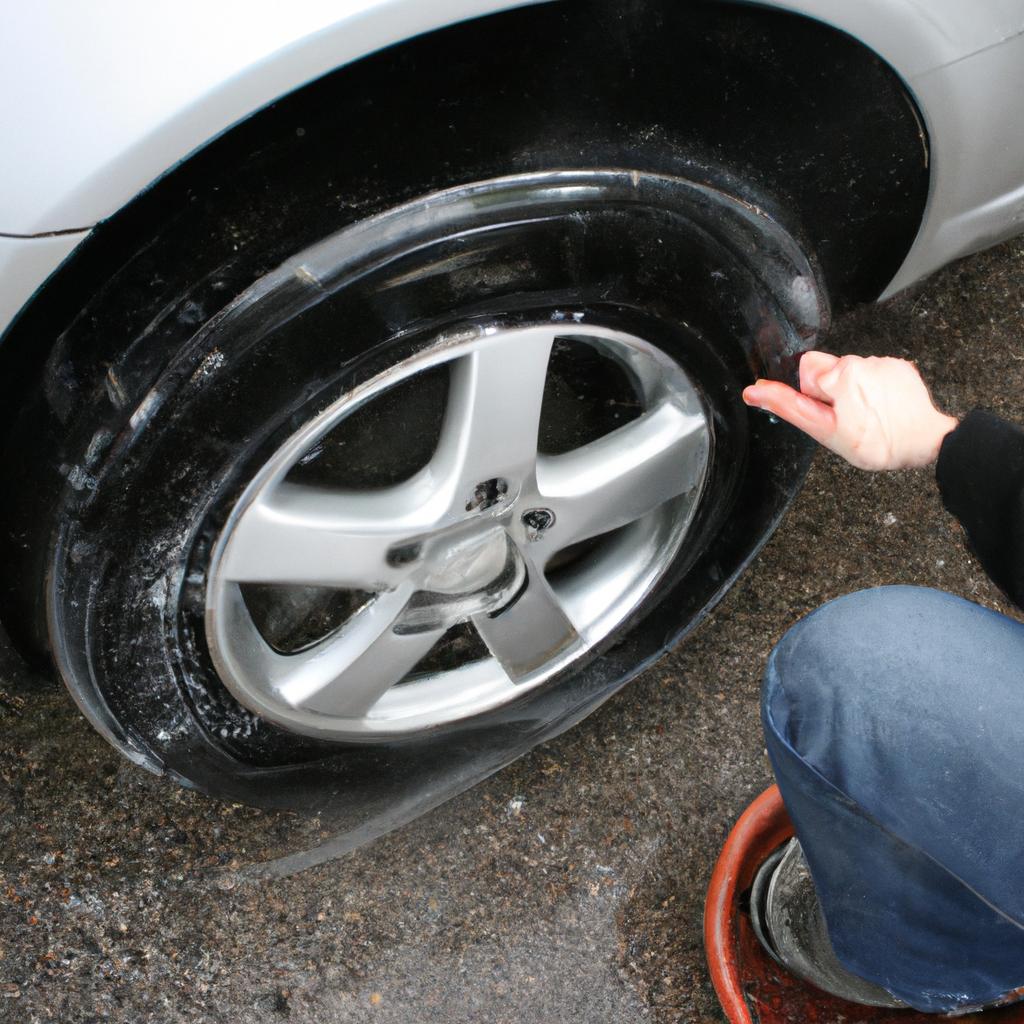
With the wheels now protected by a wax coating, it is essential to inspect the tires regularly for any signs of wear or damage. Neglecting tire maintenance can lead to decreased performance and potentially hazardous situations on the road.
Tire inspections are crucial in ensuring optimal safety and longevity. For instance, imagine a scenario where a car owner fails to notice a worn-out tire with low tread depth. As they accelerate on a wet road, their vehicle loses traction, increasing the risk of accidents. To avoid such incidents, here are some key steps to follow when inspecting your tires:
- Check tread depth: Inserting a penny into several grooves across each tire’s surface can help determine if the tread has worn down. If Lincoln’s head is fully visible, it may be time to consider replacing your tires.
- Look out for cracks or bulges: Examine the sidewalls for any cuts, cracks, or bulges that could indicate structural weakness. Such issues can arise due to aging or impact damage and should be addressed promptly.
- Monitor inflation levels: Properly inflated tires contribute to better fuel efficiency and handling. Use a reliable pressure gauge to check that all four tires meet the manufacturer’s recommended PSI (pounds per square inch).
- Inspect for uneven wear patterns: Irregular wear patterns might suggest misalignment or suspension problems. Pay attention to any areas showing more significant wear than others as this could indicate an issue requiring professional attention.
To further highlight the importance of regular tire inspections, consider these statistics based on real-world scenarios:
| Scenario | Consequences |
|---|---|
| Underinflated Tires | Decreased fuel efficiency; increased risk of blowouts |
| Worn-Out Tread | Reduced grip on wet surfaces; longer stopping distances |
| Cracked Sidewalls | Increased risk of tire failure; potential for blowouts |
| Uneven Wear Patterns | Compromised vehicle stability and handling |
By diligently inspecting your tires using the guidelines above, you can identify any signs of wear or damage early on, allowing for timely maintenance or replacement. This proactive approach ensures optimal performance and safety while driving.
maintaining clean spokes and rims.
Cleaning wheel spokes and rims
Inspecting Tires for Signs of Wear
As we move forward in our wheel cleaning journey, it is crucial to pay attention to the condition of your tires. Neglecting tire maintenance can lead to safety hazards and reduced performance. To illustrate this point, consider a hypothetical scenario where John recently purchased a used car with worn-out tires. He failed to inspect them before buying, only realizing their poor state after encountering difficulties while driving on wet roads.
To ensure optimal functionality and longevity of your wheels, here are some key steps to follow:
- Regularly check the tread depth: The depth of your tire treads plays a vital role in maintaining traction and handling on various road surfaces. Use a tread depth gauge or the penny test method as reference points.
- Inspect for uneven wear patterns: Uneven wear may indicate improper inflation, misalignment issues, or suspension problems. Check for irregularities such as cupping, feathering, or scalloping across the tire surface.
- Examine sidewall condition: Look out for bulges, cracks, bubbles, or any other signs of damage on the sidewalls. These could be indicators of internal structural issues that compromise tire integrity.
- Monitor air pressure regularly: Properly inflated tires contribute to better fuel efficiency and overall vehicle performance while reducing the risk of blowouts or flats. Refer to your vehicle’s manual for recommended air pressure levels.
By adhering to these guidelines diligently, you can proactively address potential tire-related concerns before they escalate into more significant problems.
| Tire Maintenance Tips |
|---|
| 1 |
| 2 |
| 3 |
| 4 |
Taking these steps into consideration will help ensure your wheels remain in optimal condition while promoting safer driving experiences.
Moving forward towards our next topic on cleaning wheel spokes and rims with meticulous care, it is important to delve into utilizing soft brushes for gentle cleaning techniques without causing any harm to your wheels.
Using a soft brush for gentle cleaning
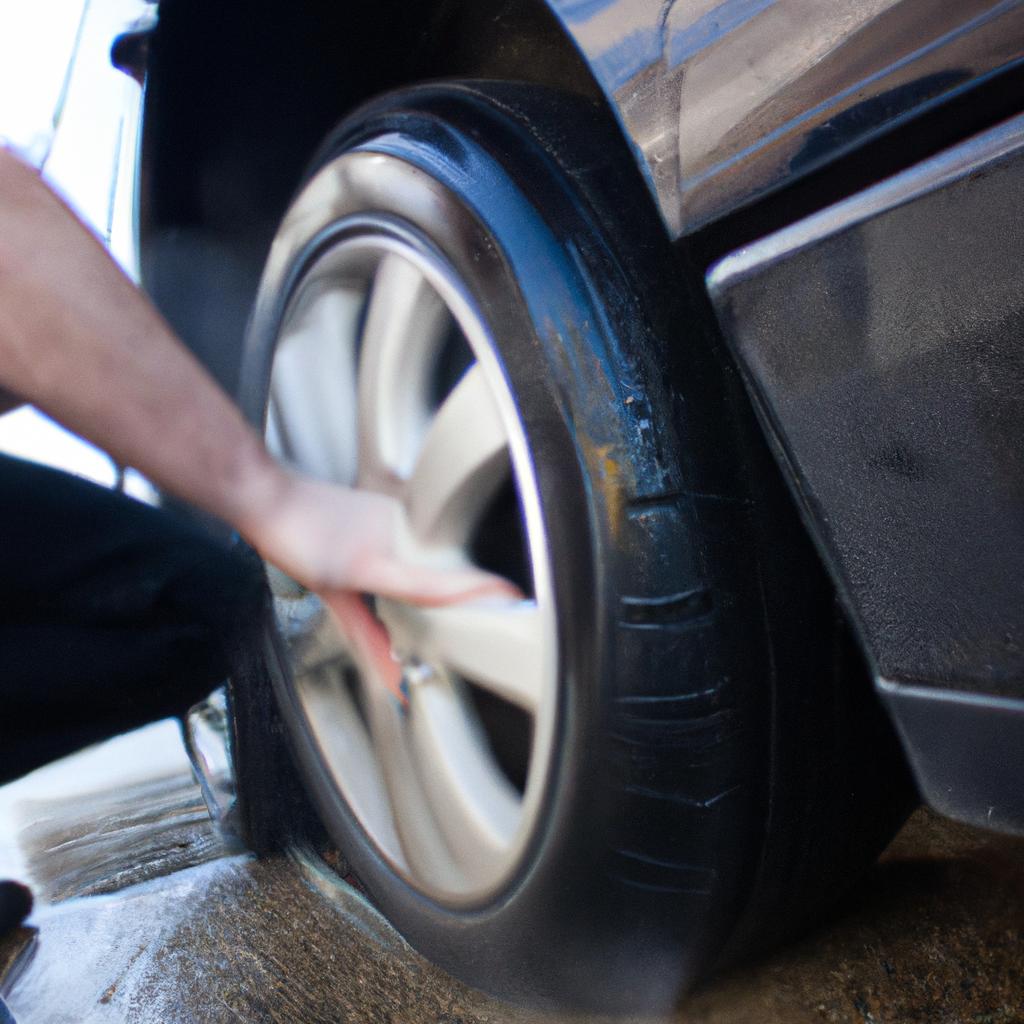
Cleaning wheel spokes and rims is an essential part of maintaining the overall appearance of a car. Neglecting this area can lead to the accumulation of dirt, brake dust, and other residues that not only affect the aesthetics but also impact the performance of the wheels. To ensure thorough cleaning and prevent any damage, it is important to use appropriate techniques and tools.
One effective method for Cleaning wheel spokes and rims is by using a soft brush. This allows you to remove dirt from hard-to-reach areas without causing scratches or abrasions on the surface. By gently scrubbing in circular motions, you can dislodge stubborn grime while ensuring minimal contact with delicate parts such as alloy finishes or painted surfaces.
To optimize your wheel cleaning process, consider these tips:
- Start by rinsing off loose debris: Before applying any cleaning solution or brushing, rinse your wheels thoroughly with water. This will help loosen and remove any loose dirt or particles that may scratch the surface during later steps.
- Use a suitable cleaner: Choose a specialized wheel cleaner that is safe for various types of rims, including chrome, aluminum, or steel. Avoid harsh chemicals or abrasive cleaners that could damage sensitive finishes.
- Pay attention to detail: Take extra care when cleaning around lug nuts, valve stems, and other small components. Utilize smaller brushes or cotton swabs if necessary to clean these tight spaces effectively.
- Rinse thoroughly: After brushing each spoke and rim section, make sure to rinse away any remaining residue before moving on to the next area. Leaving cleaning products on too long can cause discoloration or staining.
In addition to following these guidelines for cleaning wheel spokes and rims, it’s helpful to know what common mistakes to avoid. Here are some examples:
| Mistakes | Potential Consequences |
|---|---|
| Using abrasive brushes | Scratches or damages delicate finishes |
| Neglecting regular maintenance | Accumulation of brake dust and dirt, leading to corrosion |
| Applying excessive pressure | Causes dents or bends in rims |
| Using incorrect cleaning products | Damages or discoloration of the wheel surfaces |
By taking proper care of your car’s wheels, you not only enhance its visual appeal but also prolong their lifespan. Remember to always refer to your vehicle manufacturer’s recommendations for specific maintenance instructions. With regular cleaning and attention to detail, your wheels will maintain their pristine appearance while ensuring optimal performance on the road.